DCC Install
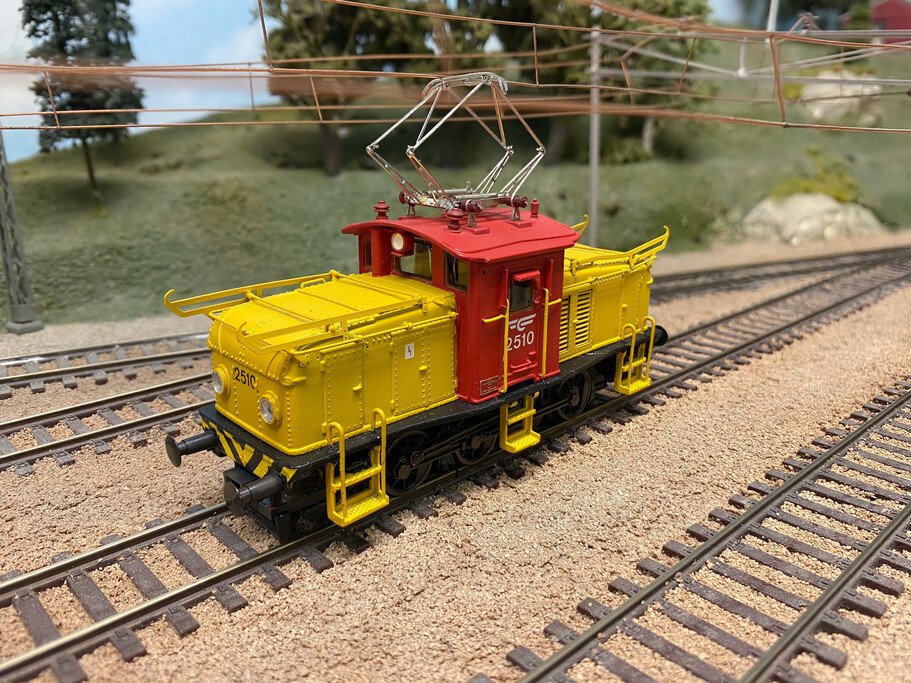
The NMJ Topline El10 was made in small numbers in 2005. It is a white metal kit from DJH, assembled for NMJ. It uses a drive from a Roco Ee3/3 (Roco 43529).
As it obviously pre-dates DCC, installing a DCC decoder requires some work.
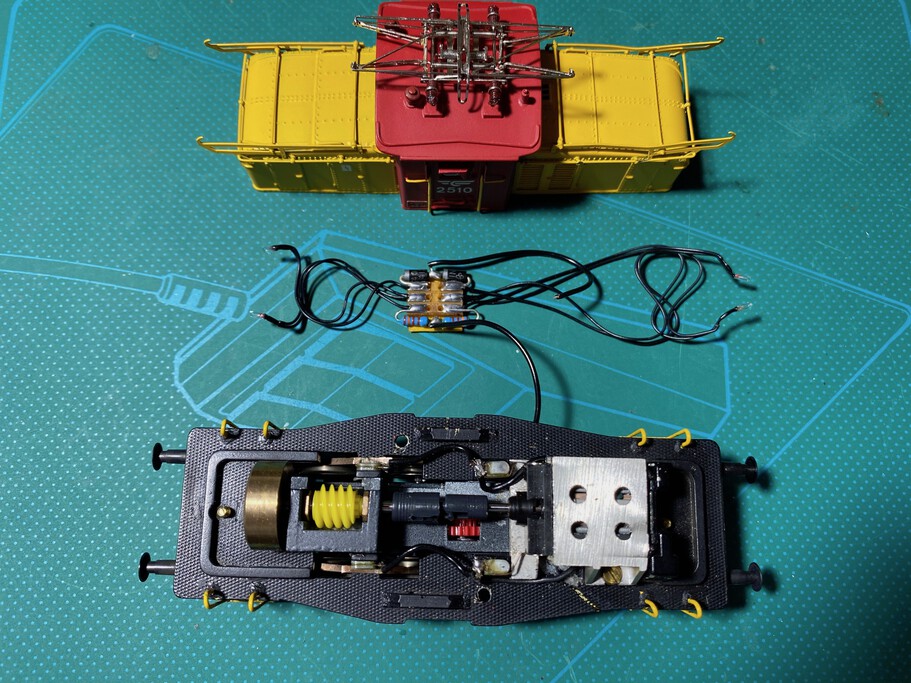
The shell removed. It shows the Roco drive. The light board has four small 1.5V grain of rice lights.
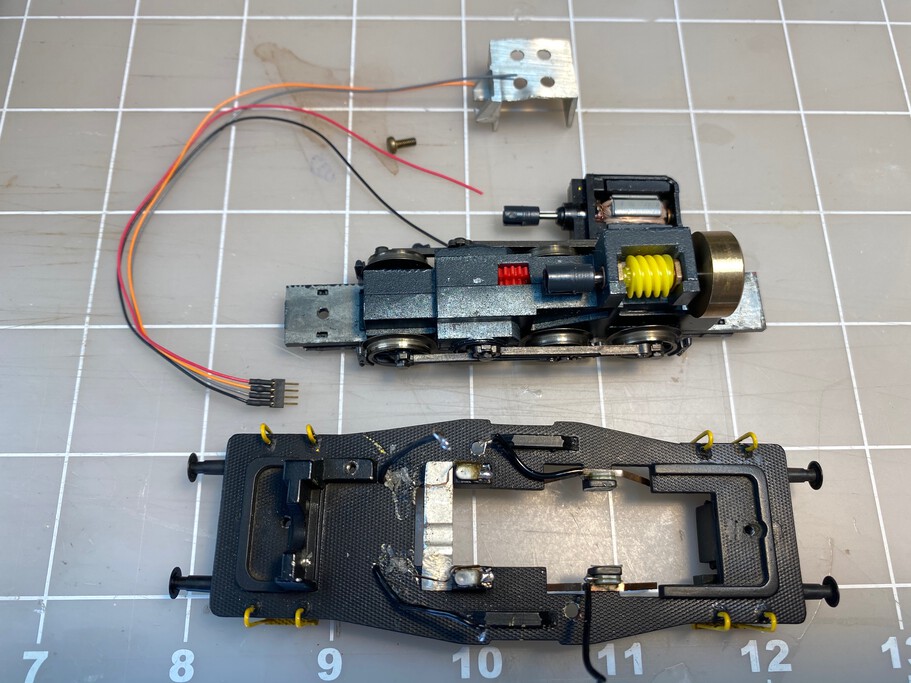
The Roco drive is removed from the frame. In this picture all the parts are clearly visible. A 4 pin TCS connector will be installed and it will provide the connection between the motor/pickups and the decoder that will be installed in the shell.
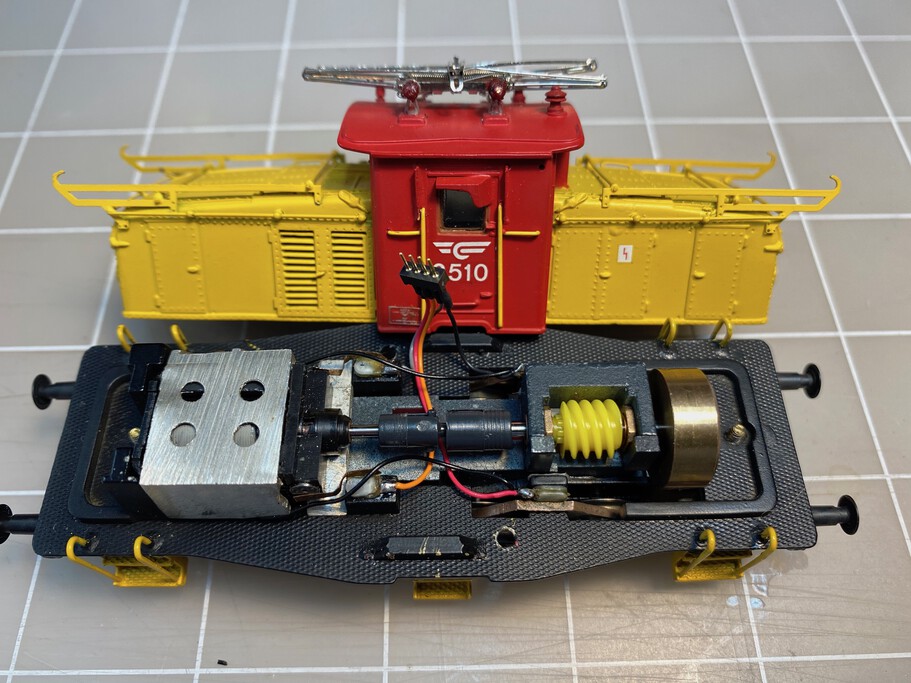
The TCS 4 pin connector has been installed and the motor and drive are put together. Now it is time to install the decoder.
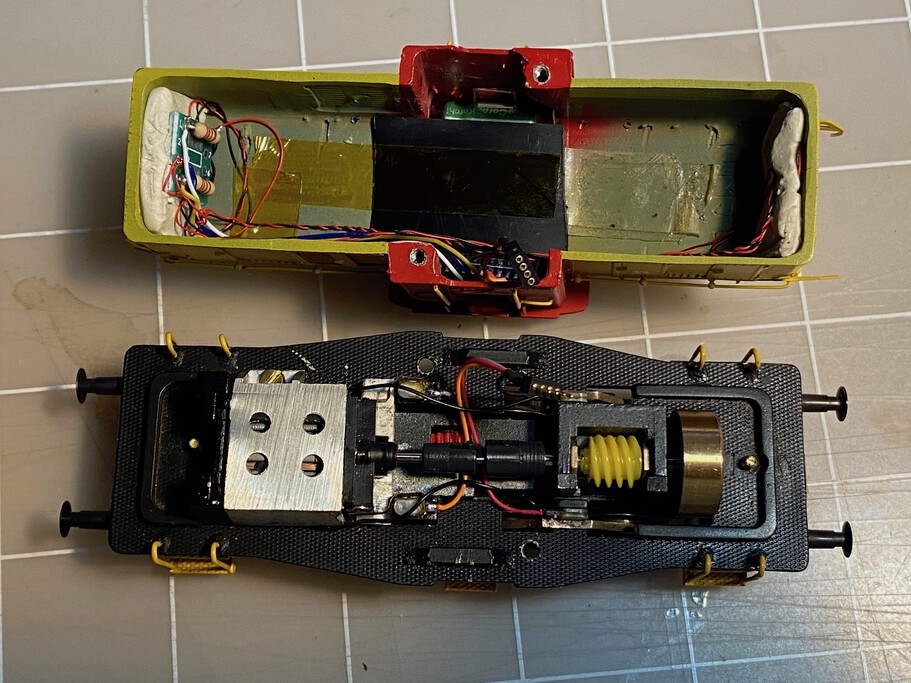
The original lights won't be reused. I installed small 0603 LEDs. Mounting putty was used to keep the LEDs in the light sockets. A very small PCB board with 2 2.2K resistors (one per side) is mounted in the putty as well.
I had a spare 8 PIN LokPilot V4 DCC and I removed the wires from it. I soldered the TCS 4 pin connector directly to the decoder. I also installed an ESU PowerPack. The decoder and the PowerPack are barely visible, as they are in the cab. Time for programming and test drive!
Resources
Last update: 2020-10-12