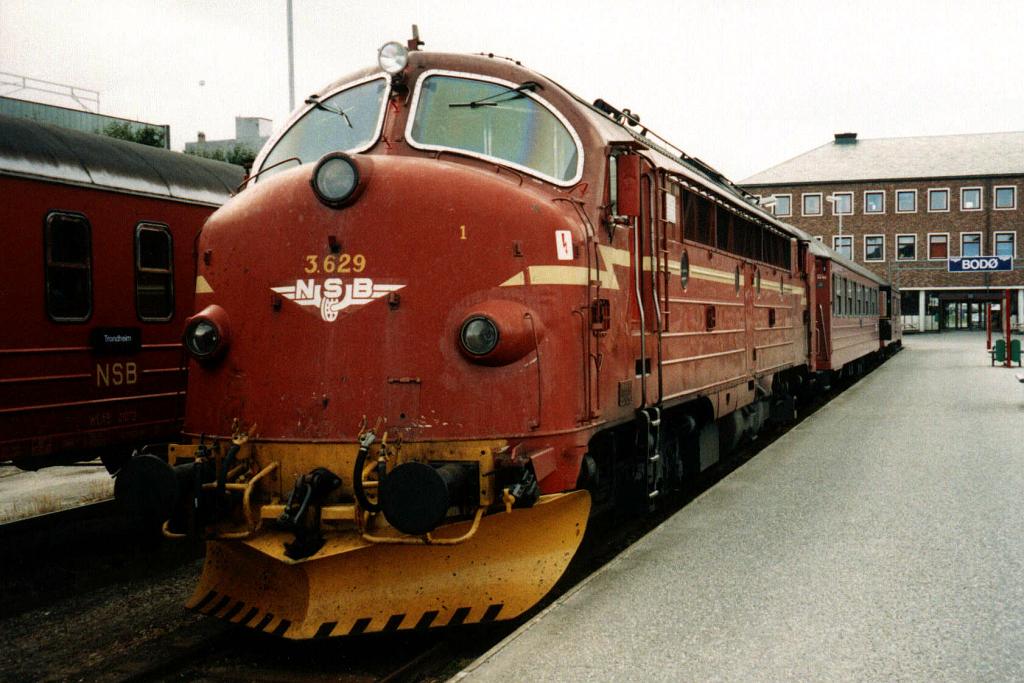
Some info about the Di3.629
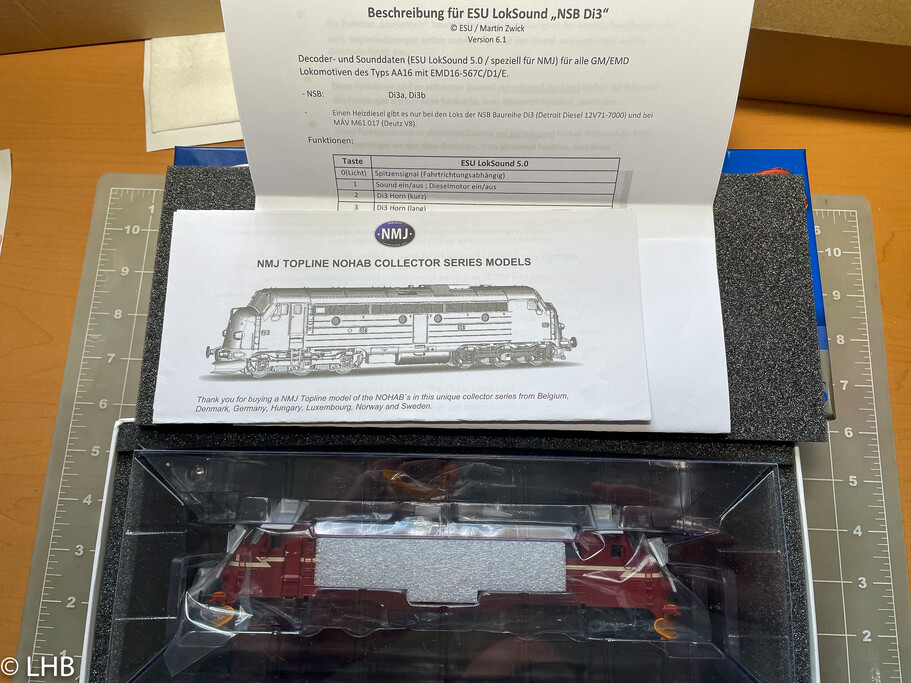
The Di3.629 was built by NOHAB in 1965 using builder number 2616. It was delivered in the brown color with a yellow stripe and small NSB logo. This is color scheme is typically known as "gammel design" in Norway. The 629 was the last Di3 to be repainted in the new red colors in 1994. In 1990/1991 many Di3 locomotives were part of a program to reduce the noise in cab 1. This showed by new panzer glass in the cab windows. The cab door didn't have a small window anymore and the shape of the side window in the cab changed to a rectangular shape.
The Di3.629 was part of this program and got its changes in late 1990. However it stayed in the old colors. The new door and some other items had the new red color already but the rest of the locomotive stayed the old color. This makes the Di3.629 an interesting locomotive.
In 2022 NMJ introduced a model of the Di3.629 that would fit this timeframe from late 1990's until early 1994. This page is about this new NMJ model and what I typically do to put it into service on my layout.

Unpacking

Two years ago I wrote a similar page about unpacking and putting a NMJ Topline model of the Di3.616 in service. This page is about the Di3.629 and it will allow to show some differences between the two models. This Di3.629 model was purchased with sound.

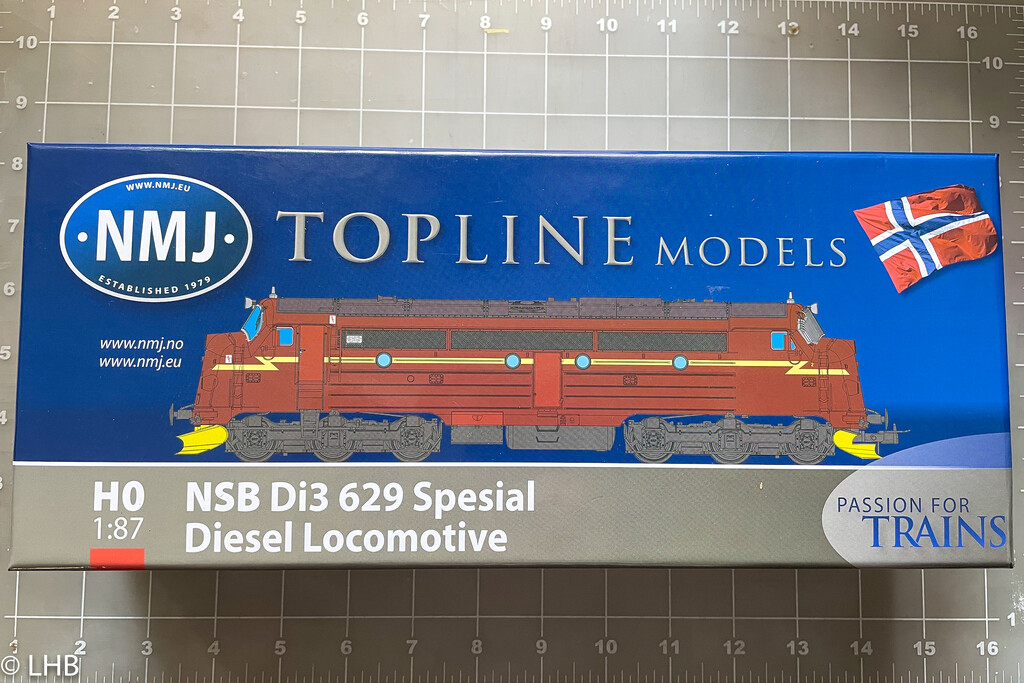
The box of the 629 is bigger than the what was used two years ago.

After opening the box you see the model in a plastic tray that keeps it very stable in transport. The bigger box allows for more padding. There is an instruction sheet about the NMJ Topline NOHAB collection and a separate sheet that shows the Loksound 5 function mapping.

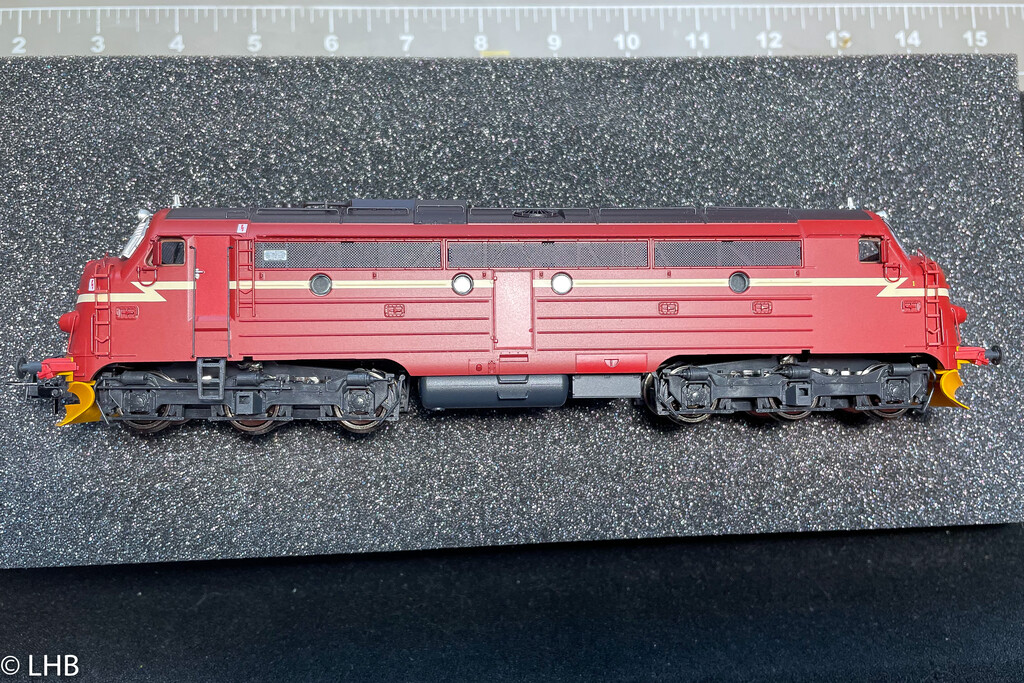
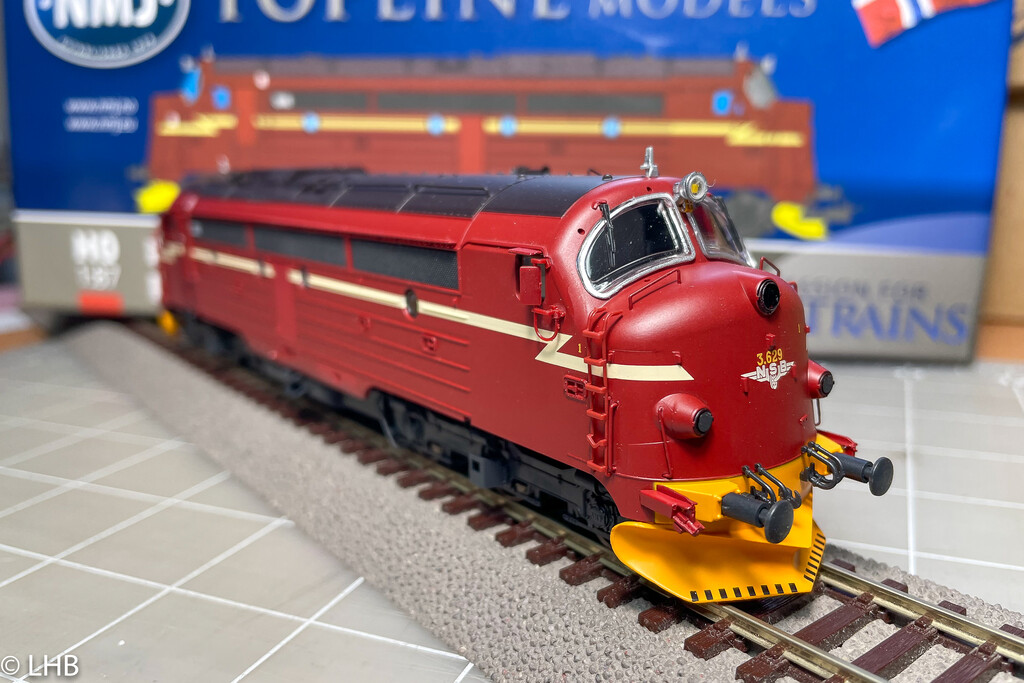
The model after unpacking. Very detailed. As described in the introduction, this model represents a unique color scheme that is a combination of the old brown color (gammel design) and the new red color (ny design). This model also is the first NMJ Topline model that represents the first iteration of the metal frame around the panzer glass. This was used by the Norwegian Railways during the first cab 1 isolation projects. Later on this changed to a different frame. See Di3.642 & Di3.643 models for examples.

After removing the shell, the inside of the model can be seen. The Di3.629 has a newer style PCB board with connectors for the head lights above the cabs. It also shows the already installed Loksound 5 decoder.

Led/light adjustments.

The NMJ Topline Di3 models have both the front and rear lights coupled. This is described in detail on the NMJ Topline model of the Di3.616 page. The easiest way to control the lights independently is to remove the R and Rf wires from the PCB.
The wires are removed with a solder iron. Then some shrink wrap is placed around the loose wire to avoid any problems. I've decided to keep the wires, I could have also completely removed them.

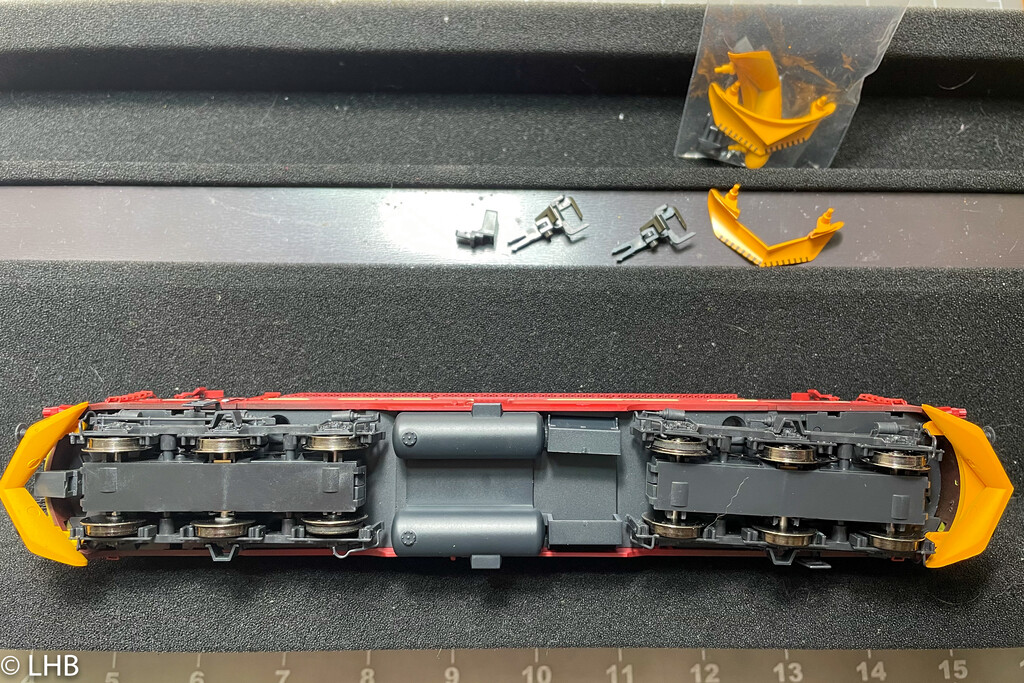
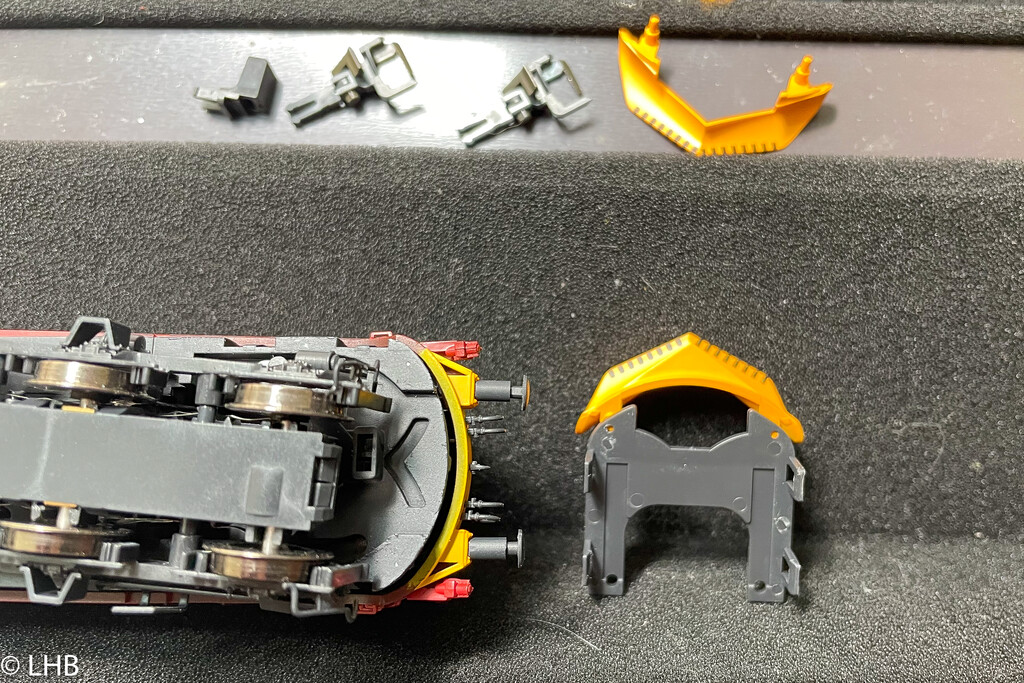
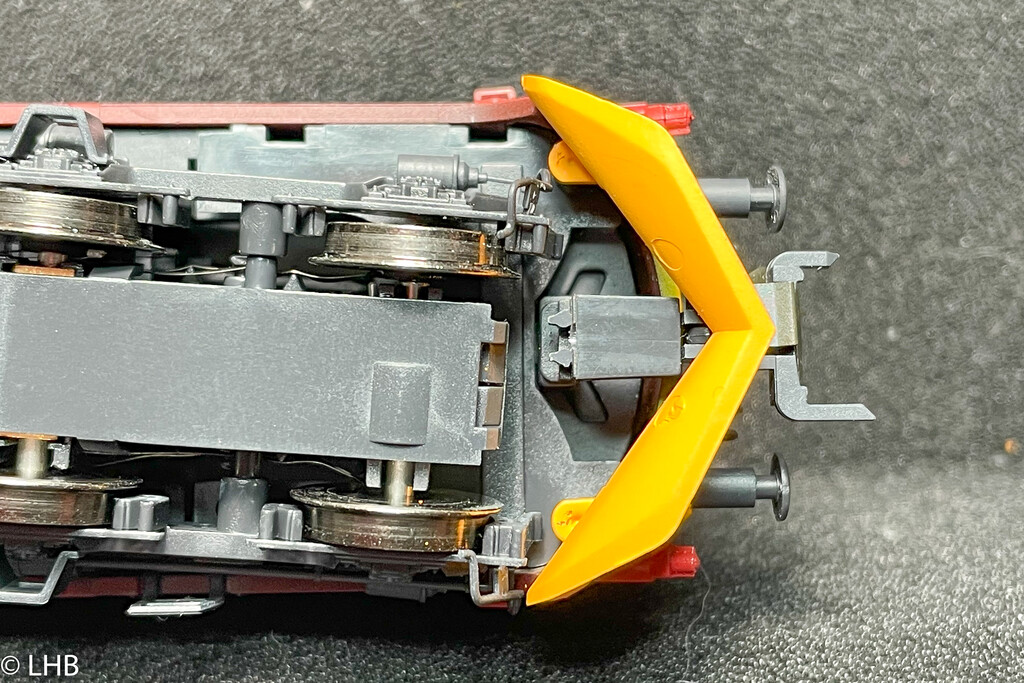
Snow plow and coupler install

By default only one coupler is installed. The front snow plow is fully enclosed which is great for a show case model but makes it impractical on a layout. For some reason NMJ doesn't provide open plows (that have space for the coupler) in the spare parts bag. Therefore I used one for a 'parts model'.
In the past I've broken off the plows by accident. The easiest way to avoid that is to remove the coupler/plow assembly and then push the original plow out from the inside. Then you reinstalled the assembly and push in the new coupler. I also installed two Roco Universal couplers, as that is my standard coupler.

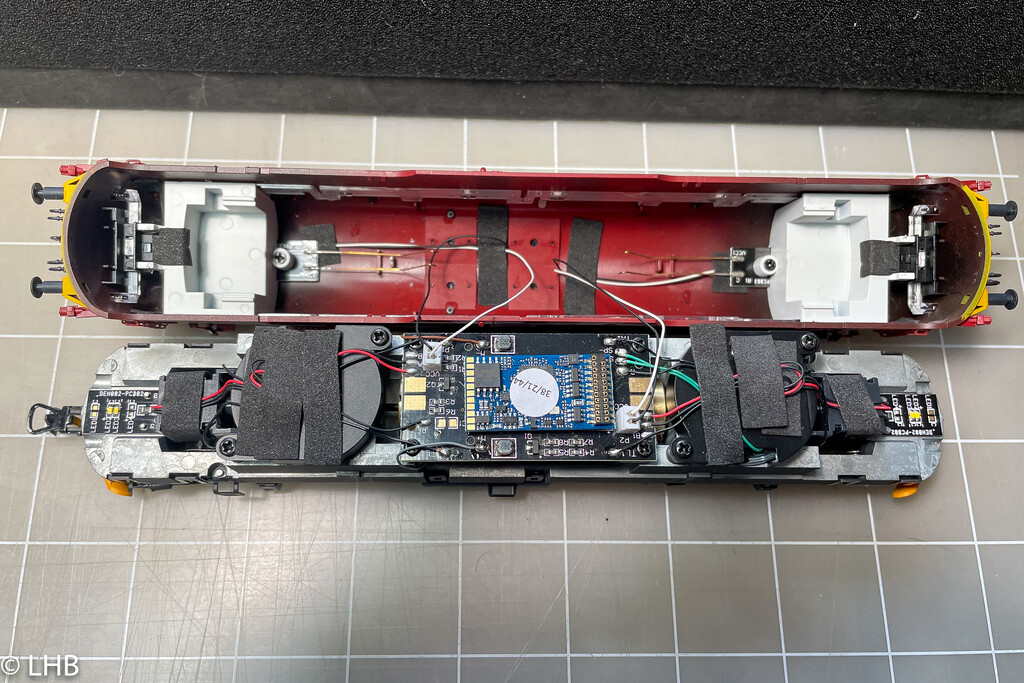
Sound decoder / function mapping

As described in the introduction, this model was purchased with a sound decoder. The instruction sheet for the decoder is in German, as the sound project is made by a German modeller. This model comes with version 6.1 of the NMJ sound file. It includes the EMD 16-567 sound (F1) as well as the sound of the head-end power (for heating) (F4).
The picture on the left shows the function mapping in the ESU LokProgrammer. This is not how I will used it on my layout and therefore I have to change the function mapping. The mapping will be changed to conform to the mapping that I describe on the ProtoThrottle page.

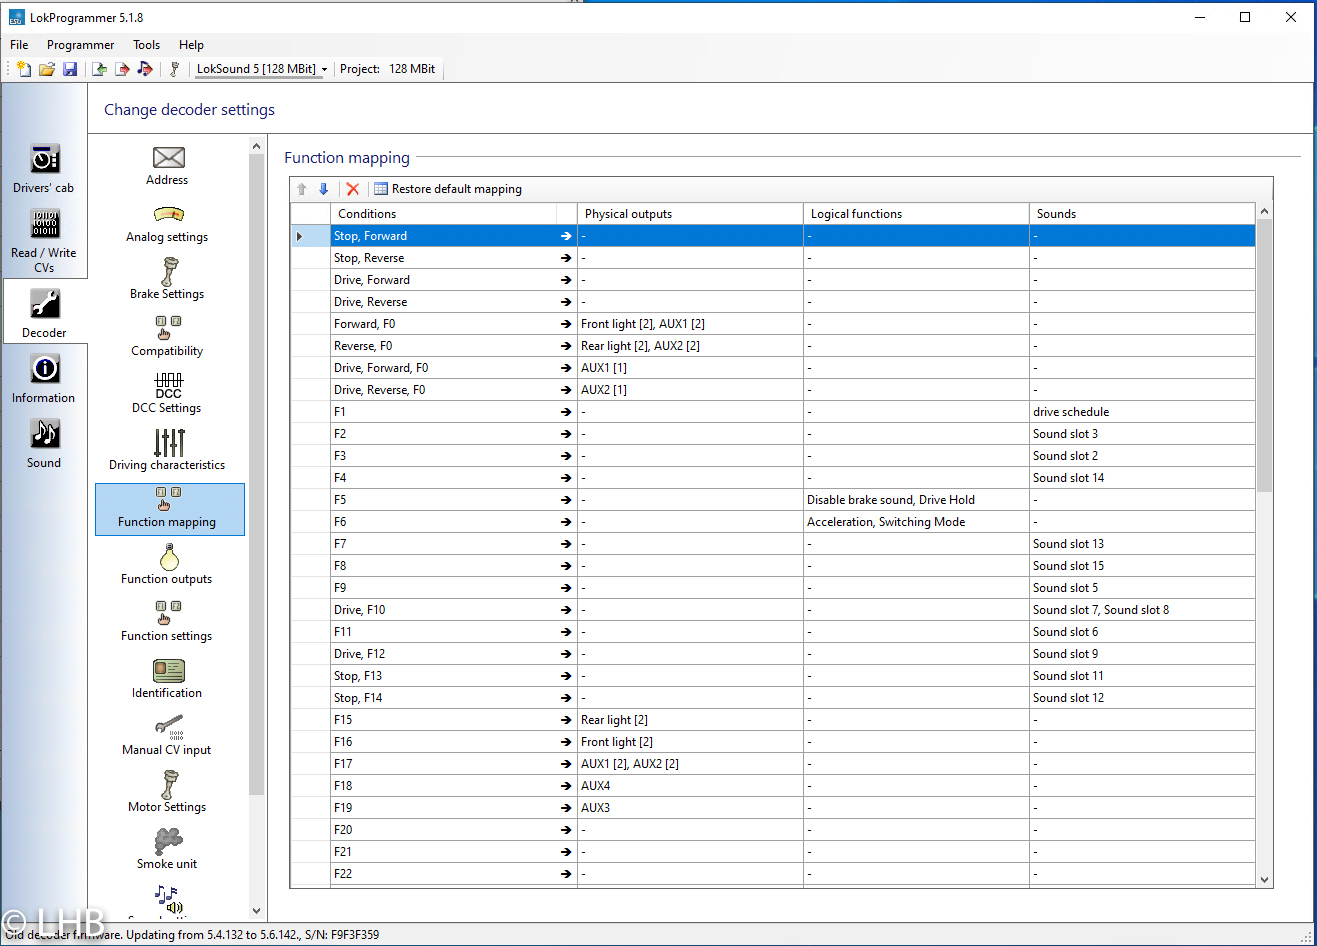
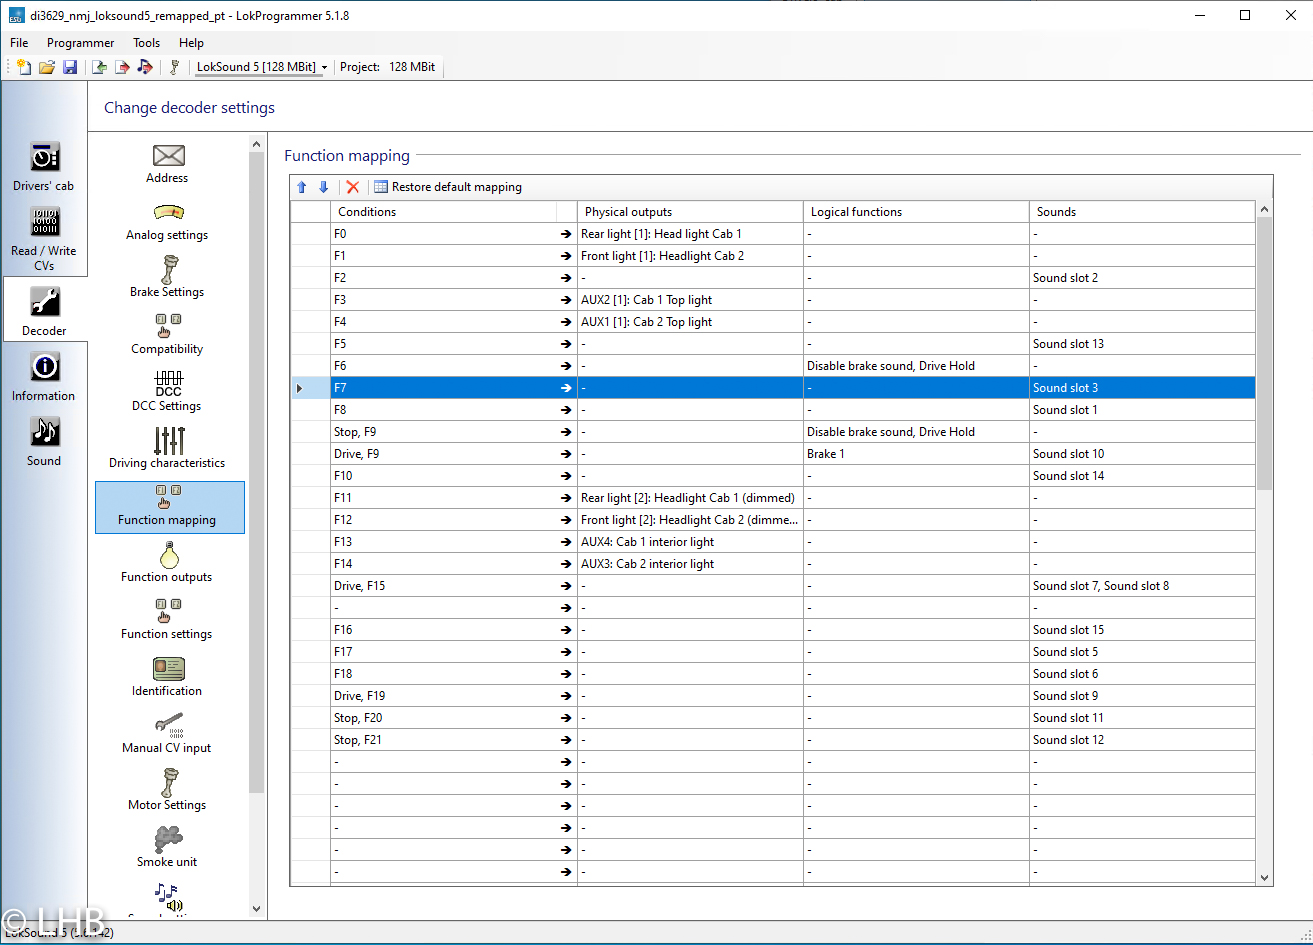
The picture to the right shows the remapped function mapping.

Last update: 2022-03-04